
 |
|
|||||||
| 2004 to 2008 F-150 and Mark-LT 4.2L, 4.6L and 5.4L equipped F-150s and Mark-LTs. |
|
|
Thread Tools | Display Modes |
|
#1
|
||||
|
||||
|
I had been noticing a chirping upon a cold start up on my 2006 5.4 3v and knew one of my idlers pulleys with only 40k on them was going.....
So I started to do some research on aftermarket pulleys and found a lot of good info but most were missing tech specs on their products. So I decided to pull the trigger on a set of these>>>4-Piece Billet Idler Kit, 2005 and Newer Ford Mustang: Metco Motorsports. The nice thing about these pulleys is that the bearing is easily removed and another can be put back in by removing the snap ring retainer. 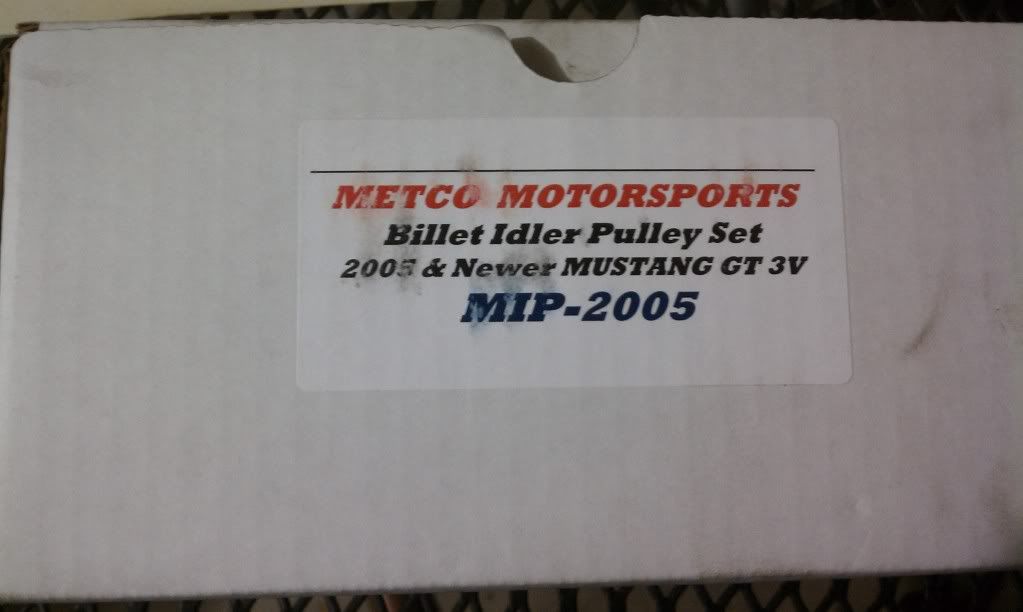 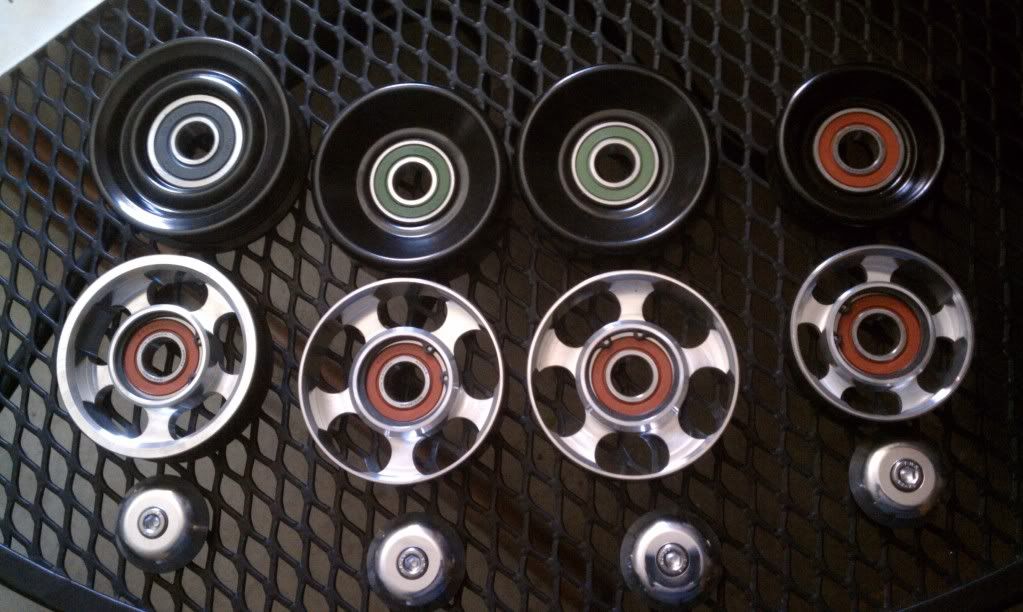 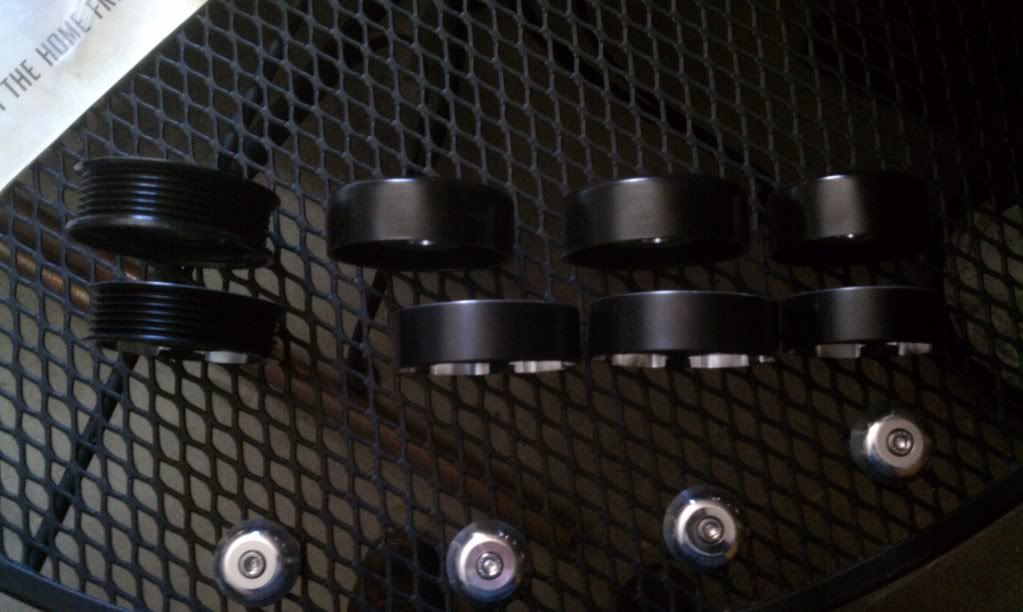 Tools needed 3/8x13mm socket 3/8x10mm socket 3/8 drive ratchet 3/8 short extension 2" 3/8x6mm hex drive 3/8 torque ratchet ft/lbs 1/2 breaker bar Gloves Motor diagram...  1. Let the motor cool. These pulleys are by possible hot areas of the motor. 2. Disconnect the negative on the battery and remove the air intake tube. 3. Use the 1/2 breaker bar on the belt tensioner arm and release the tension on the serpentine belt. Remove belt from pulleys. If you don't have a diagram of the belt routing its good to make one before the belt is removed. 4. Now loosen the three larger pulleys and remove them>>90mms+90mms+87mmg You'll use the 13mm socket and ratchet for this. 5. At this point I replaced these 3. It was just easier. Use the supplied fasteners in the kit and the ratchet along with the 3/8x6mm hex drive. 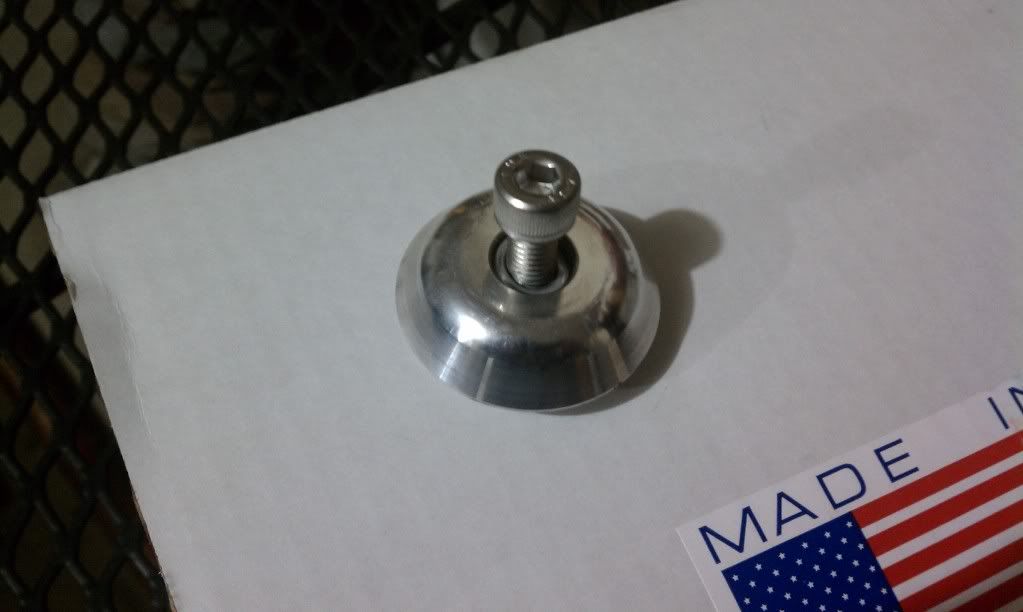 Tighten them to 25nm or 18ft/lbs 6. Remove the belt tensioner. There are three 10 bolts that need to be removed so use the 10mm socket and ratchet to loosen them. 7. Now remove the 76mm pulley from the arm using a 13mm socket and ratchet. Mount the new pulley darkside facing front of vehicle so the snap ring is facing to the back of vehicle. DO NOT USE THE NEW FASTENER DUE TO A CLEARANCE ISSUE. Instead use the old bolt. Tighten and torque to 25nm or 18 ft/lbs. 8. Reattach tensioner arm to the original mount by reusing the old bolts along with a 10mm socket and ratchet and torquing the bolts to 25nm or 18ft/lbs. 9. Now reinstall the belt. Remember to release the tensioner to do the and following the correct routing. 10. Reconnect the battery and air intake tube. 11. Clean up and put tools away. This little project only took me approximately an hour to do all 4. New pulleys 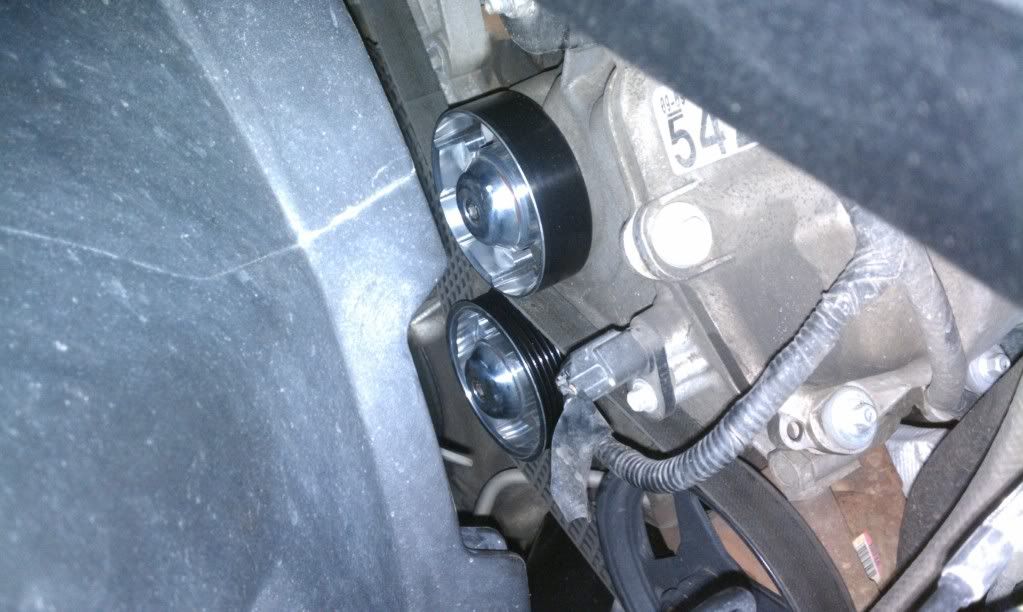 OLD PULLEYS 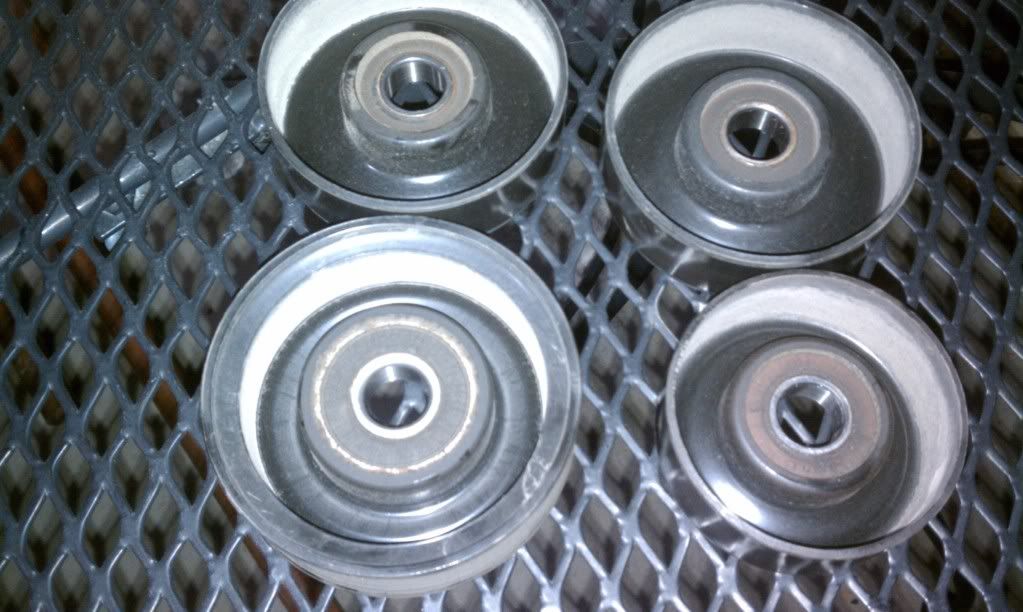 Take care and enjoy!
__________________
SENIOR MODERATOR--PTLA God doesn't have a Facebook but he's my friend. God doesn't have a twitter, but I follow him. |
| Thread Tools | |
| Display Modes | |
|
|